
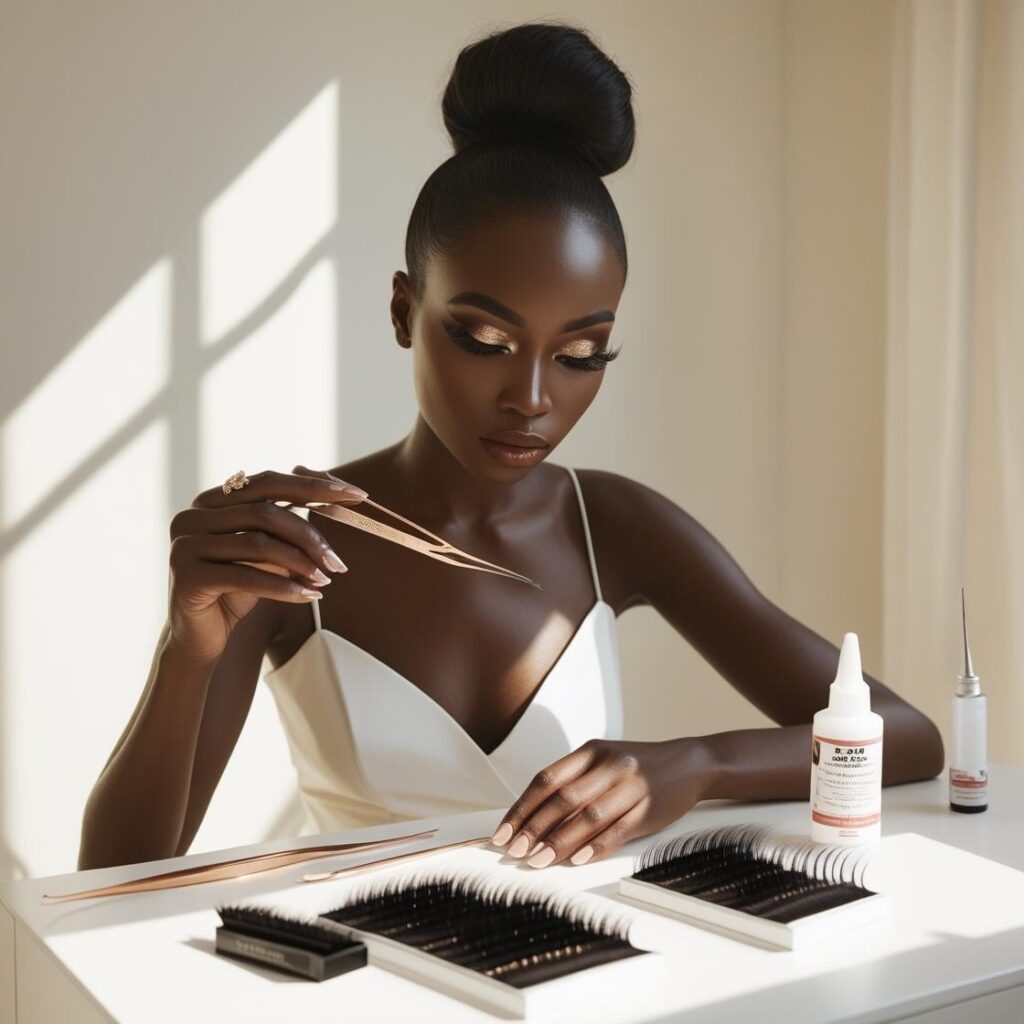
How Do I Do DIY Lash Extension?
Salon trips for lash fills? Cute, but exhausting. Especially when your coins and your schedule are both giving “not today.” That’s where DIY lash extensions come in hot—serving you flutter, glam, and freedom all in one. They’re also the perfect match for a full face beat. If you’re still finessing your makeup routine, our beginner-friendly makeup guide has you covered.
Truth be told, sticking lashes to your eyelids and making them last more than a day seems nearly impossible. That’s why we’ve created this step-by-step DIY lash extension guide that breaks everything down clearly, irrespective of your technique level, we’ll show you how.
Let’s delve into the cleanest and easiest way to lash at home; all without booking a lash tech.
What You’ll Need for DIY Eyelash Extensions
Here’s your basic DIY lash kit:
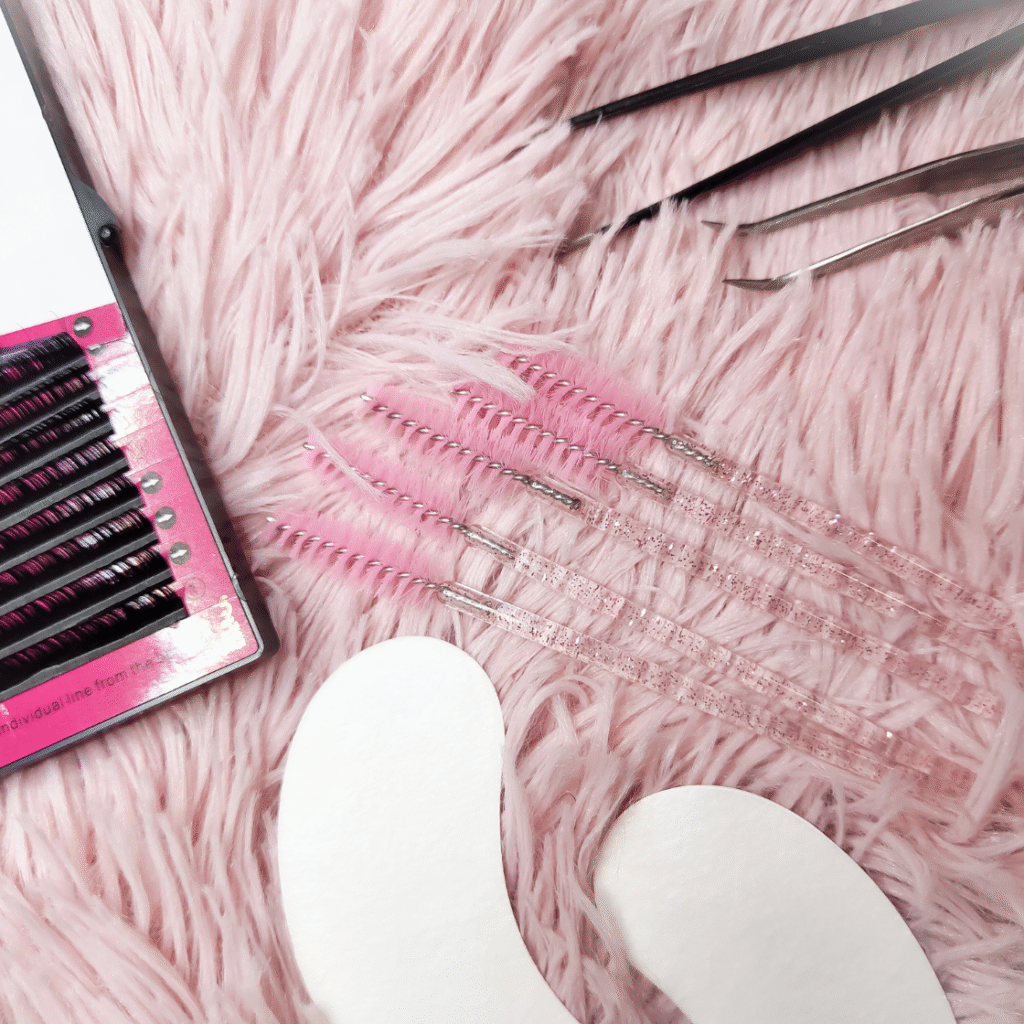
- Individual lash clusters (choose short, medium, or long depending on your eye shape)
- Lash bond & sealant (a 2-in-1 product works best for beginners)
- Tweezers (preferably curved-tip for precision)
- Lash applicator tool (optional but helpful)
- Lash remover (important for safe removal)
- A handheld mirror or tabletop mirror at a low angle
- Mascara wand or lash brush (for separating lashes)
We earn a commission for products purchased through some links in this article.
Step-by-Step DIY Lash Guide
- Shape the Lash Cluster
Bend your lash into an arc. This helps the lash strip conform to your eye shape better. A flexible lash is easier to place and sticks more naturally.
- Apply the Lash Glue (Bond)
Add a small amount of lash bond to the base of the lash cluster. Set it aside to get tacky. Never apply it wet.
- Prep Your Natural Lashes
While the lash is drying:
Use Your Fingers to Draw Out Your Lashes: If your natural lashes tend to curl tightly or clump together, especially in the corners, gently use clean fingers to pull or stretch them out slightly before applying the cluster lashes. This helps:
Straighten stubborn coils
Create a better surface to attach your clusters
Avoid tangling or crisscrossing when layering lashes
Skip the Mascara (Optional): You can apply a light coat of mascara before applying your clusters to help them grip better, especially if you have straight or downward-facing lashes.
But if your natural lashes are already curly or coily, mascara isn’t always necessary and might actually make the process messier or clumpy. - Position Your Mirror
Place your mirror under your face (chin tilted downward). You should be able to clearly see your lash line and lid space.
- Apply the Lash Cluster
Using tweezers, gently pick up the tacky lash cluster. Place it as close to your lash line as possible (or apply underneath the lashes for a more seamless look).
Press gently using your tweezers or lash applicator to bond it in place. - Seal the Lashes
Once all clusters are placed:
Use a lash sealant to hold everything in place
Brush through lightly with a spoolie to blend
This keeps your lashes neat and extends their wear.
Tips to Make Your DIY Lashes Last Longer
- Don’t get your lashes wet for the first 24 hours
- Avoid oil-based cleansers near your eyes
- Sleep on your back to prevent lash crushing
- Reapply sealant every 1–2 days for longer wear
Depending on the quality of your lash glue and how careful you are, DIY eyelash extensions can last anywhere from 3 to 7 days. Some lash kits claim a 10-day hold, but real-life results vary.
Pros and Cons of DIY Eyelash Extensions
Pros:
- Budget-friendly compared to salon extensions
- You control the fullness and length
- Easy to remove and redo
Cons:
- Shorter wear time than professional extensions
- Can be tricky to apply at first
- Lash clusters can fall off if not sealed properly
Common Mistakes to Avoid With DIY Lash Extensions
- Applying lashes with wet glue (wait until tacky)
- Using too much bond or glue
- Placing lashes too far from the lash line
- Skipping the sealant step
- Touching or adjusting lashes too soon
Final Thoughts
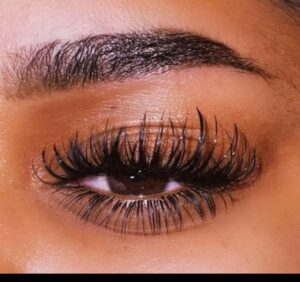
DIY lash extensions are a total game-changer for anyone who wants full lashes without a salon visit. With a bit of practice, patience, and the right products, you’ll be able to create a long-lasting lash look that feels just as glam as the pros.
Remember, technique is everything. Start slow, focus on placement, and don’t worry if you don’t get it perfect the first time. You’re learning, and every set gets better.