These affordable Fulani braids have deep roots in traditional African braiding techniques from West Africa, representing generations of cultural artistry.
In fact, we’ve already covered the full story of this trending look; from what makes the Jayda Wayda braids unique to why everyone wants them.
If you haven’t read that yet, you can check out our article [Jayda Wayda Fulani Braids: The Look Everyone Wants] for a detailed introduction.
The Scope of this Article
In this guide, we’re shifting the focus to practical ways you can recreate Jayda Wayda braids without breaking the bank.
You’ll discover everything from selecting the perfect hair to exploring styling variations, along with clever, budget-friendly tips that deliver that sleek-meets-soft-glam finish.
Understanding the Style: It’s All About Technique
Many people don’t realize that Jayda Wayda’s signature look often falls under the crochet braid category.
This means you’re not necessarily braiding all of your natural hair; instead, you create a base with cornrows and then add extensions to achieve the desired length and volume.
This technique allows for versatility and can help protect your natural hair while still rocking the full, textured style that defines Jayda Wayda Fulani braids.
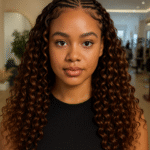
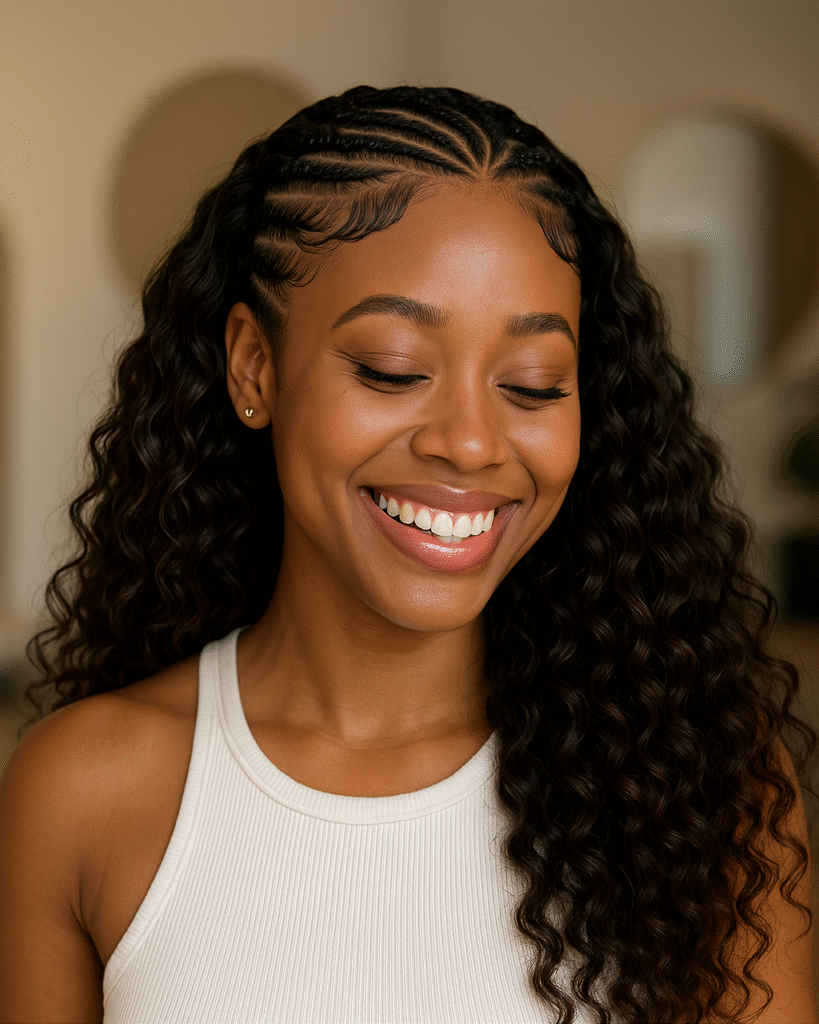
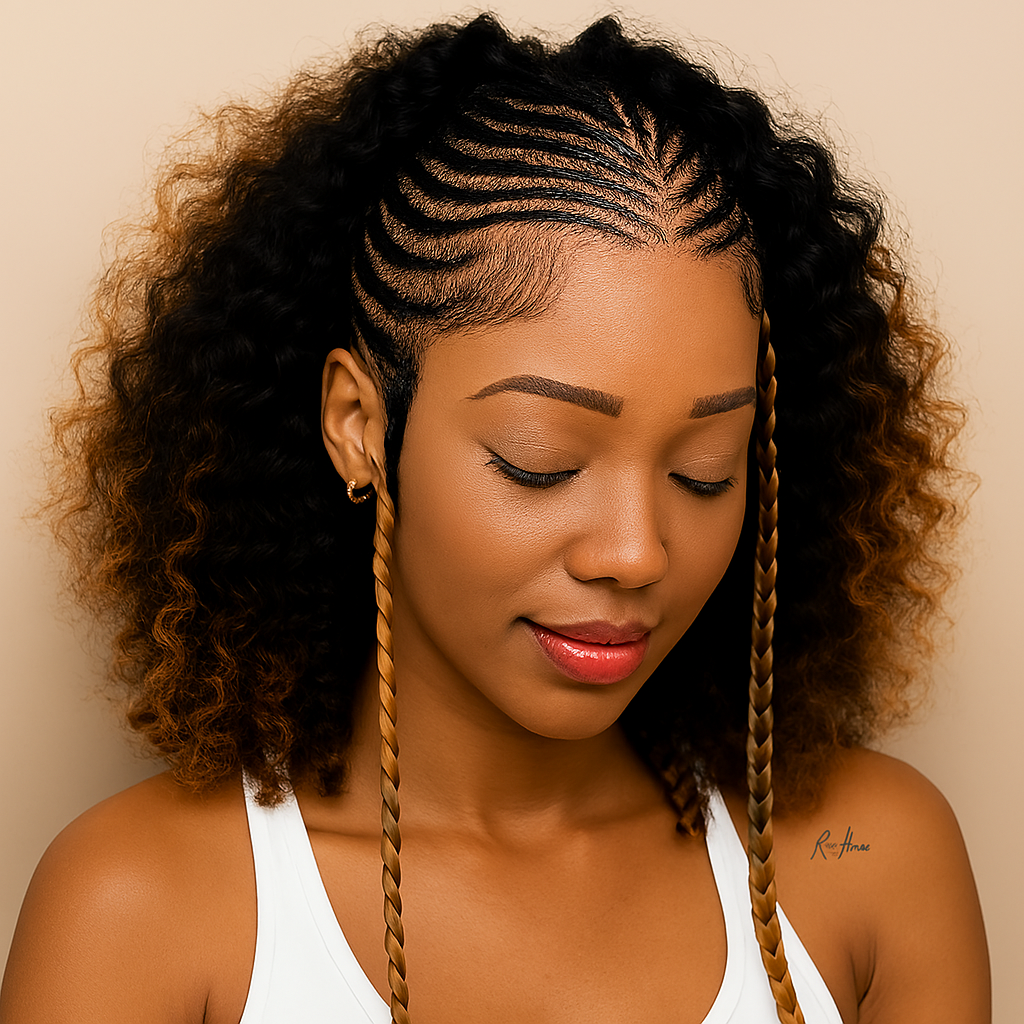
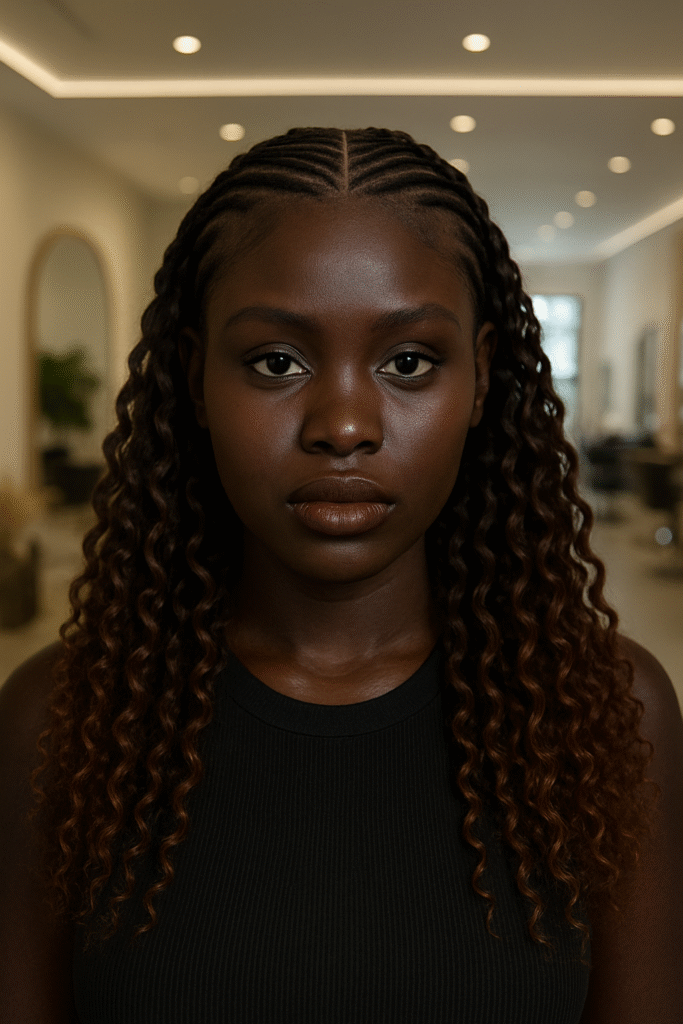
The Anatomy of the Look:
- Front section: Clean middle-part cornrows (usually 4-6 rows)
- Back section: Fuller braids or a crochet base
- Length: Typically waist-length or longer
- Accessories: Minimal beads, cuffs, or cowrie shells
- Edges: Perfectly laid baby hairs
Budget Breakdown: How to Recreate Jayda Wayda Braids at Every Price Point
- Ultra-Budget Option ($25+)
Best for: Students, first-timers, or anyone wanting Jayda Wayda braids on a budget
Hair Options:
Synthetic crochet braids in packs from beauty supply stores
Pre-stretched braiding hair (3-4 packs)
Generic synthetic curly extensions - Mid-Range Option ($50+)
Best for: Those wanting better quality and longevity
Hair Options:
Bohemian synthetic curly extensions
Human hair curly extensions (clip-ins or bulk)
Upgrade elements:
Better edge control products
Professional-grade braid spray - Luxury Budget ($100+)
Hair Options:
Human hair curly extensions (clip-ins or bulk)
Virgin hair bundles for custom curly texture
Premium crochet hair with natural movement
Professional touches:
Salon installation
Custom color matching
High-end maintenance products
We earn a commission for products purchased through some links in this article.
The Quick DIY Method (What Influencers Actually Do)
Here’s the insider secret many tutorials don’t tell you: lots of influencers use the “quick method” for content creation. These braiding hair hacks make affordable Fulani braids accessible to everyone.
The 30-Minute Hack:
- Part your hair down the middle
- Braid the front section into 4-6 neat cornrows
- Gather the back hair into a low bun or ponytail
- Clip in curly extensions to the back section
- Blend everything and lay your edges
This method gives you the signature look without the 6-hour commitment. These protective hairstyles are perfect for:
- Photo shoots
- Special events
- Testing if you like the look before committing
- When you need a quick style refresh
Hair Extension Deep Dive: What Really Works
Synthetic Options (Budget-Friendly)
Best Brands:
- Expression: Classic, affordable, widely available
- Darling: Creates specific ranges for trending styles
- Lush: Good middle-ground option
Textures to look for:
- Water wave
- Deep wave
- Bohemian curl
- Passion twist texture
Human Hair Options (Investment Pieces)
Why it’s worth it:
- More natural movement
- Can be styled with heat
- Longer lifespan (up to 6 months with care)
- Easier to blend with natural hair
Best textures:
- Brazilian curly
- Peruvian deep wave
- Malaysian loose wave
- Raw Indian hair (custom textures)
Step-by-Step: How to Recreate Jayda Wayda Braids at Home
Prep Work (Don’t Skip This!)
- Wash and condition your natural hair
- Deep condition for moisture
- Blow dry on low heat or air dry completely
- Apply leave-in conditioner and light oil
The Installation Process
1: Traditional Braiding
- Section the front into your desired parting pattern
- Braid 4-6 cornrows using the feed-in technique
- Continue braiding the rest of your hair in larger sections
- Add extensions as you braid for length
2: Crochet Method (Faster)
- Create a cornrow base across your entire head
- Use a crochet needle to pull extension loops through
- Secure with small rubber bands
- Blend and style as desired
3: Clip-In Hybrid
- Braid the front section traditionally
- Secure back hair in a low base
- Clip in curly extensions for instant length
- Blend the meeting points with additional braids
The Edge Game: Where the Magic Happens
Your edges brings out the beauty of the entire look. Here’s how to achieve that Jayda Wayda perfection:
Sleek Edges Products That Actually Work:
Application Technique:
- Start with clean edges (use a damp cloth)
- Apply product sparingly – less is more
- Use a small brush or clean toothbrush
- Work in sections for precision
- Set with a silk scarf for 10-15 minutes
Pro Hacks:
- Toothbrush method: Wrap a small scarf around a toothbrush for better control
- Freeze gel: Put your gel in the fridge for firmer hold
- Layer products: Light oil first, then gel for shine and hold
Maintenance: Making Your Style Last
Daily Care Routine:
- Sleep with a silk/satin scarf or bonnet
- Mist with braid spray every 2-3 days
- Oil your scalp weekly (not the braids!)
- Keep hands out – touching creates frizz
Weekly Maintenance:
- Gentle cleanse with diluted shampoo
- Deep condition the exposed parts of your natural hair
- Re-lay edges as needed
- Check for loose braids and re-secure
When to Take Them Down:
- Synthetic hair: 2-3 weeks maximum
- Human hair: Up to a month with proper care
- Signs it’s time: Excessive buildup, scalp irritation, significant new growth
Common Mistakes (And How to Avoid Them)
Installation Errors:
- Braiding too tight – leads to breakage and headaches
- Using too much hair – creates unnecessary weight
- Skipping edge prep – results in uneven layout
- Wrong parting technique – throws off the entire aesthetic
Maintenance Mistakes:
- Over-washing – causes premature frizzing
- Using heavy products – weighs down the style
- Sleeping without protection – shortens style lifespan
- Ignoring scalp health – can lead to issues
DIY vs. Professional: Making the Right Choice
Choose DIY if:
- You have 4-6 hours to spare
- You’re comfortable with basic braiding
- You want to save money
- You’re not picky about perfection
Go Professional if:
- You want the style to last longer
- You have an important event
- You’re new to protective styling
- You value time over money
Trending Variations to Try
The Bob Version:
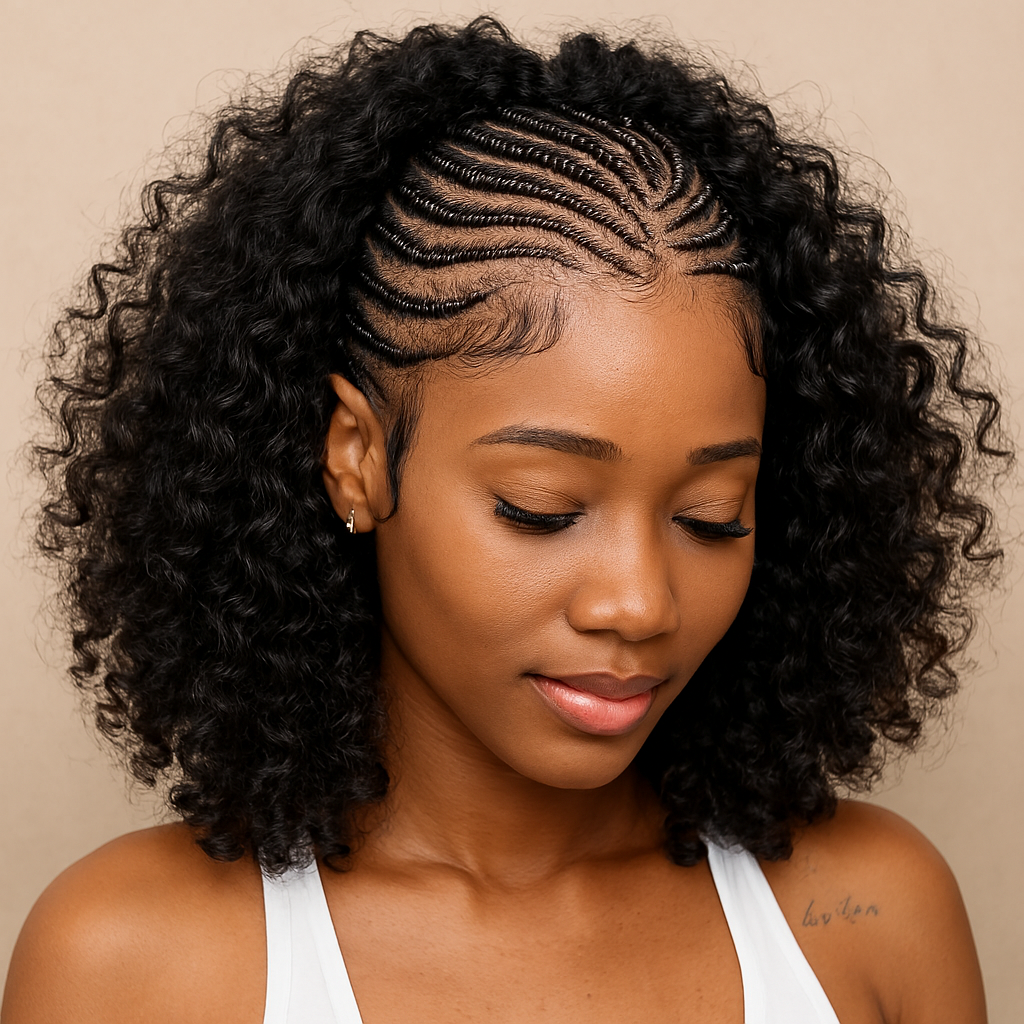
- Shorter length (shoulder or collarbone)
- Same front technique, less extension hair needed
- Perfect for professional settings
- Budget-friendly due to less hair required
The Color Pop:
- Add style like braid strands
- Ombre or highlight effects
- Can be achieved with colored synthetic hair
- More dramatic for special occasions
The Minimalist Approach:
- Skip most accessories
- Focus on clean lines and perfect edges
- Natural hair colors only
- Timeless and versatile
Protective hairstyles go beyond mere aesthetics—they give your natural hair a chance to rest while keeping you feeling beautiful. Choosing affordable Fulani braids or opting for premium extensions, these braid styles for Black women honor our heritage and safeguard our hair’s health. Your budget should align with your priorities, lifestyle, and hair goals; not anyone else’s expectations.
Start with what feels manageable, hone your technique, and gradually upgrade key elements as you go. Often, the most stunning looks arise from creativity and resourcefulness